![TT Logo.png]](https://25843872.hs-sites-eu1.com/hs-fs/hubfs/TT%20Logo.png?height=50&name=TT%20Logo.png)
Before you begin, make sure your Training Needs Analysis (TNA) has been submitted and approved. This is a required first step before creating any BILD ACT Certified course.
1. Access the Course Creation Page
-
Click on the “My Courses” tab in the top navigation panel.
-
Select the “Create Course” button.
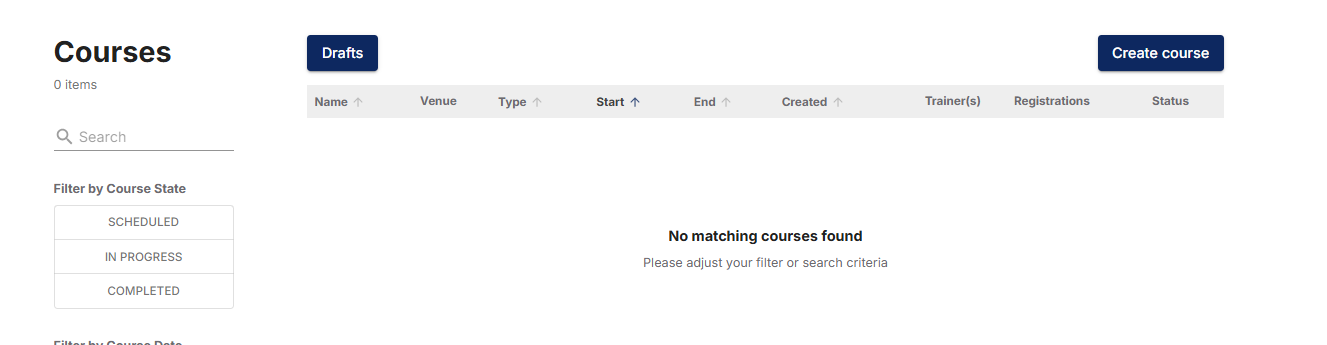
2. Select the Course Category
- From the “Course Category” dropdown, choose “BILD”.
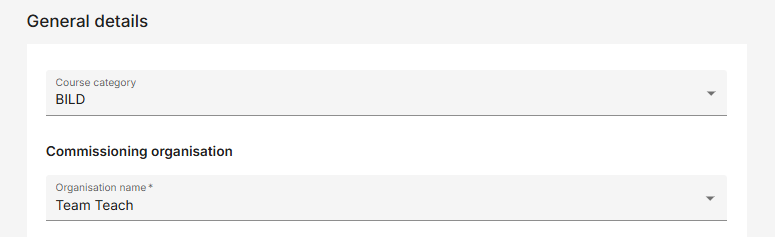
3. Enter Organisation Details
-
Type in the name of the organisation receiving the training.
- Enter the Organisation Key Contact details - Please note, this contact will have access to the course, attendee details and certificate information.
4. Select the Course Level
-
From the “Course Category” dropdown, choose “BILD Certified”.
5. Choose Course Strategies
-
Use the toggles to select the strategies you will deliver. These should align with your approved Training Needs Analysis.
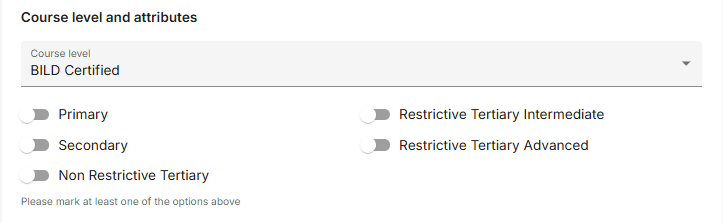
6. Blended Learning & Reaccreditation Options
-
Indicate whether the course will be a Blended Learning or Reaccreditation session.
-
If you select Blended Learning, additional setup steps are required. Refer to the Blended Learning article for more details.
7. Set the Delivery Type
-
Choose how the course will be delivered.
-
Note: Only Primary training can be delivered virtually.
If your course includes both face-to-face and virtual sessions, be sure to:
-
Add a meeting link in the special instructions for the virtual component.
8. Add Venue Information
-
Enter the venue address for any in-person sessions.
-
Use the Special Instructions field for any extra details (e.g., twilight session info, extra meeting links, dates, or timings). These instructions will be included in attendee communications.
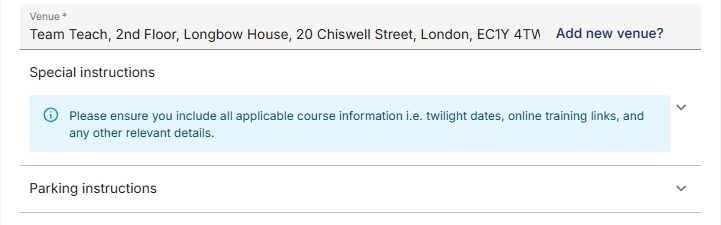
9. Parking & Accessibility
-
If needed, add parking or other relevant logistical information.
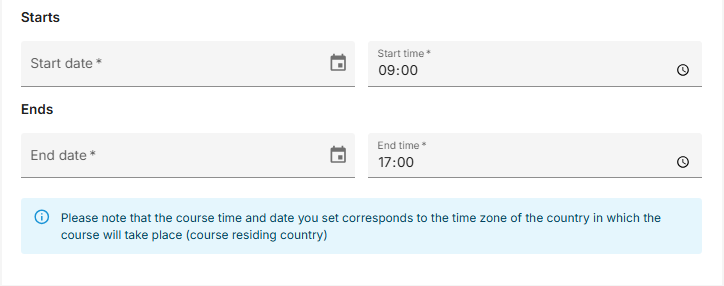
10. Set the Course Schedule
-
Enter the start and end date/time for your course.
-
Important: Courses must be scheduled at least four weeks in advance.
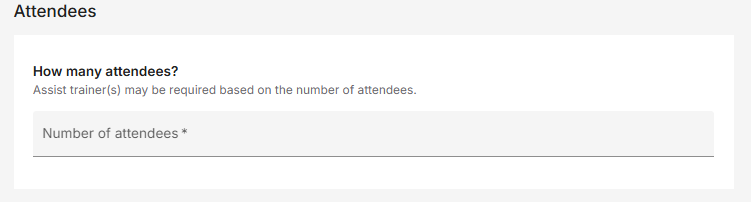
11. Add Attendee Numbers
-
Enter the total number of expected attendees.
13. Assign an Assist Trainer (Optional)
-
If needed, assign an assist trainer by searching by name or email. You’ll see all registered trainers in the dropdown list.
-
Important: Assigning a trainer does not guarantee their attendance—please confirm availability directly with them before assigning.
14. Final Steps
-
Review all information and confirm the required checkboxes.
-
Click “Course Builder” to complete setup.
Once your course is created, you can begin selecting your course modules.